Introduction
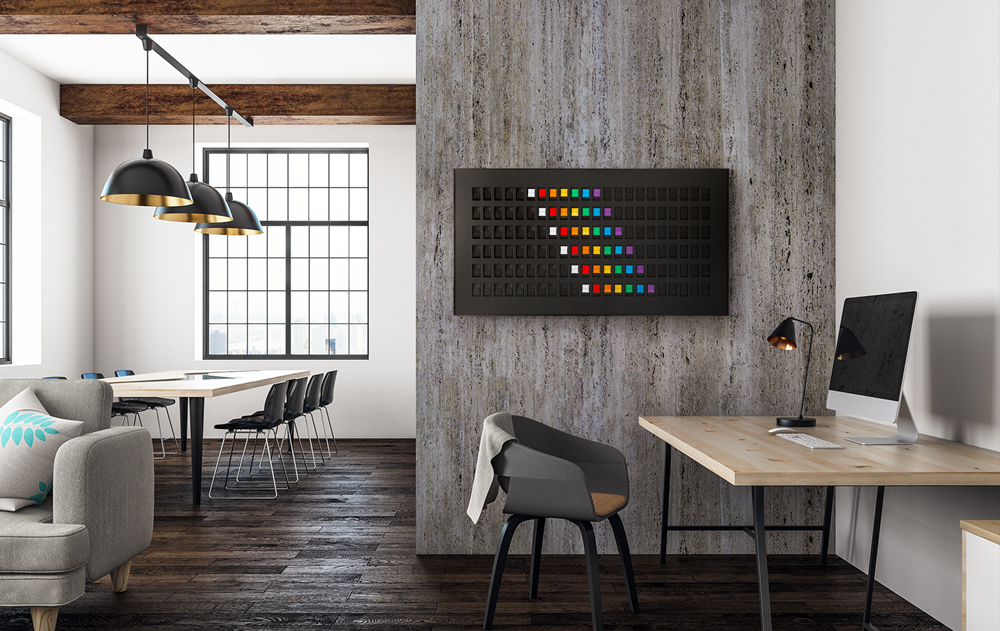
At Vestaboard, we believe in the power of simplicity. It is at the core of our product, which is a display board with split-flaps that can transition to display messages or artwork meant to surprise and delight.
When I stepped into the role of Head of Software Engineering 3 years ago, it was my goal to infuse our engineering culture with that same simplicity that has captured and inspired our loyal customers. To that end, in early 2024, we began discussing the idea of merging our native iOS and Android applications and our web application into a single codebase.
This began a journey that spanned the better part of 18 months. The result was the launch of our new and improved application.
Pain Points
We already had very high-quality Swift and Kotlin applications along with a React web app that mirrored the features of native. The main issue was speed of delivery. Inevitably, one of the codebases always lagged behind the features of the others. We constantly had to make the decision to either launch a new feature on only some of our platforms or to hold up a release in order for iOS or Android to catch up.
Coming from a web application background, native development, even with modern languages like Swift and Kotlin, seemed to take more cycles than I felt they should. There are probably many reasons for that disparity, not least of which is the developer experience and tooling in XCode and Android Studio missing key developer experience features that React Native excels at.
Also, I wanted to empower my team to be able to work across the stack more confidently. Having been in positions where frontend and backend developers are different people or even teams, I knew the wasted time that often arises from an API change blocking frontend development. We were already building out a comprehensive federated GraphQL endpoint that anyone on our platform team could easily update. It made sense for the same person to be able to supply the data from the backend and render it on the frontend. Our team of 3 full-time developers was too small to not be full-stack.
Planning and Proof of Concept
I knew we were at a point where we needed to rethink our engineering practices. The next step was to decide how we would unify our codebase. React Native is obviously not the only game in town when it comes to shared native codebases.
I had previously led a team that unified our codebase with Flutter, which is interesting because instead of rendering native components like React Native, it treats the entire app as a sort of game engine and quickly draws onto the screen. The reason we ultimately chose React Native was because of the ubiquity of TypeScript and React. We would have less issue bringing in developers who could understand our code.
I began a proof of concept rendering some message cards from my board’s history and a few of the existing screens from Vestaboard+, our subscription service for Vestaboard automations. It was rudimentary, but it showed the first glimmers of promise. I showed it to our Senior Full-Stack Engineer, John, and Head of Product, Mark. We decided to try to build a few of the most difficult features in React Native and Expo. If we could build those features in a way that felt native, we all agreed that it would be a promising path forward.
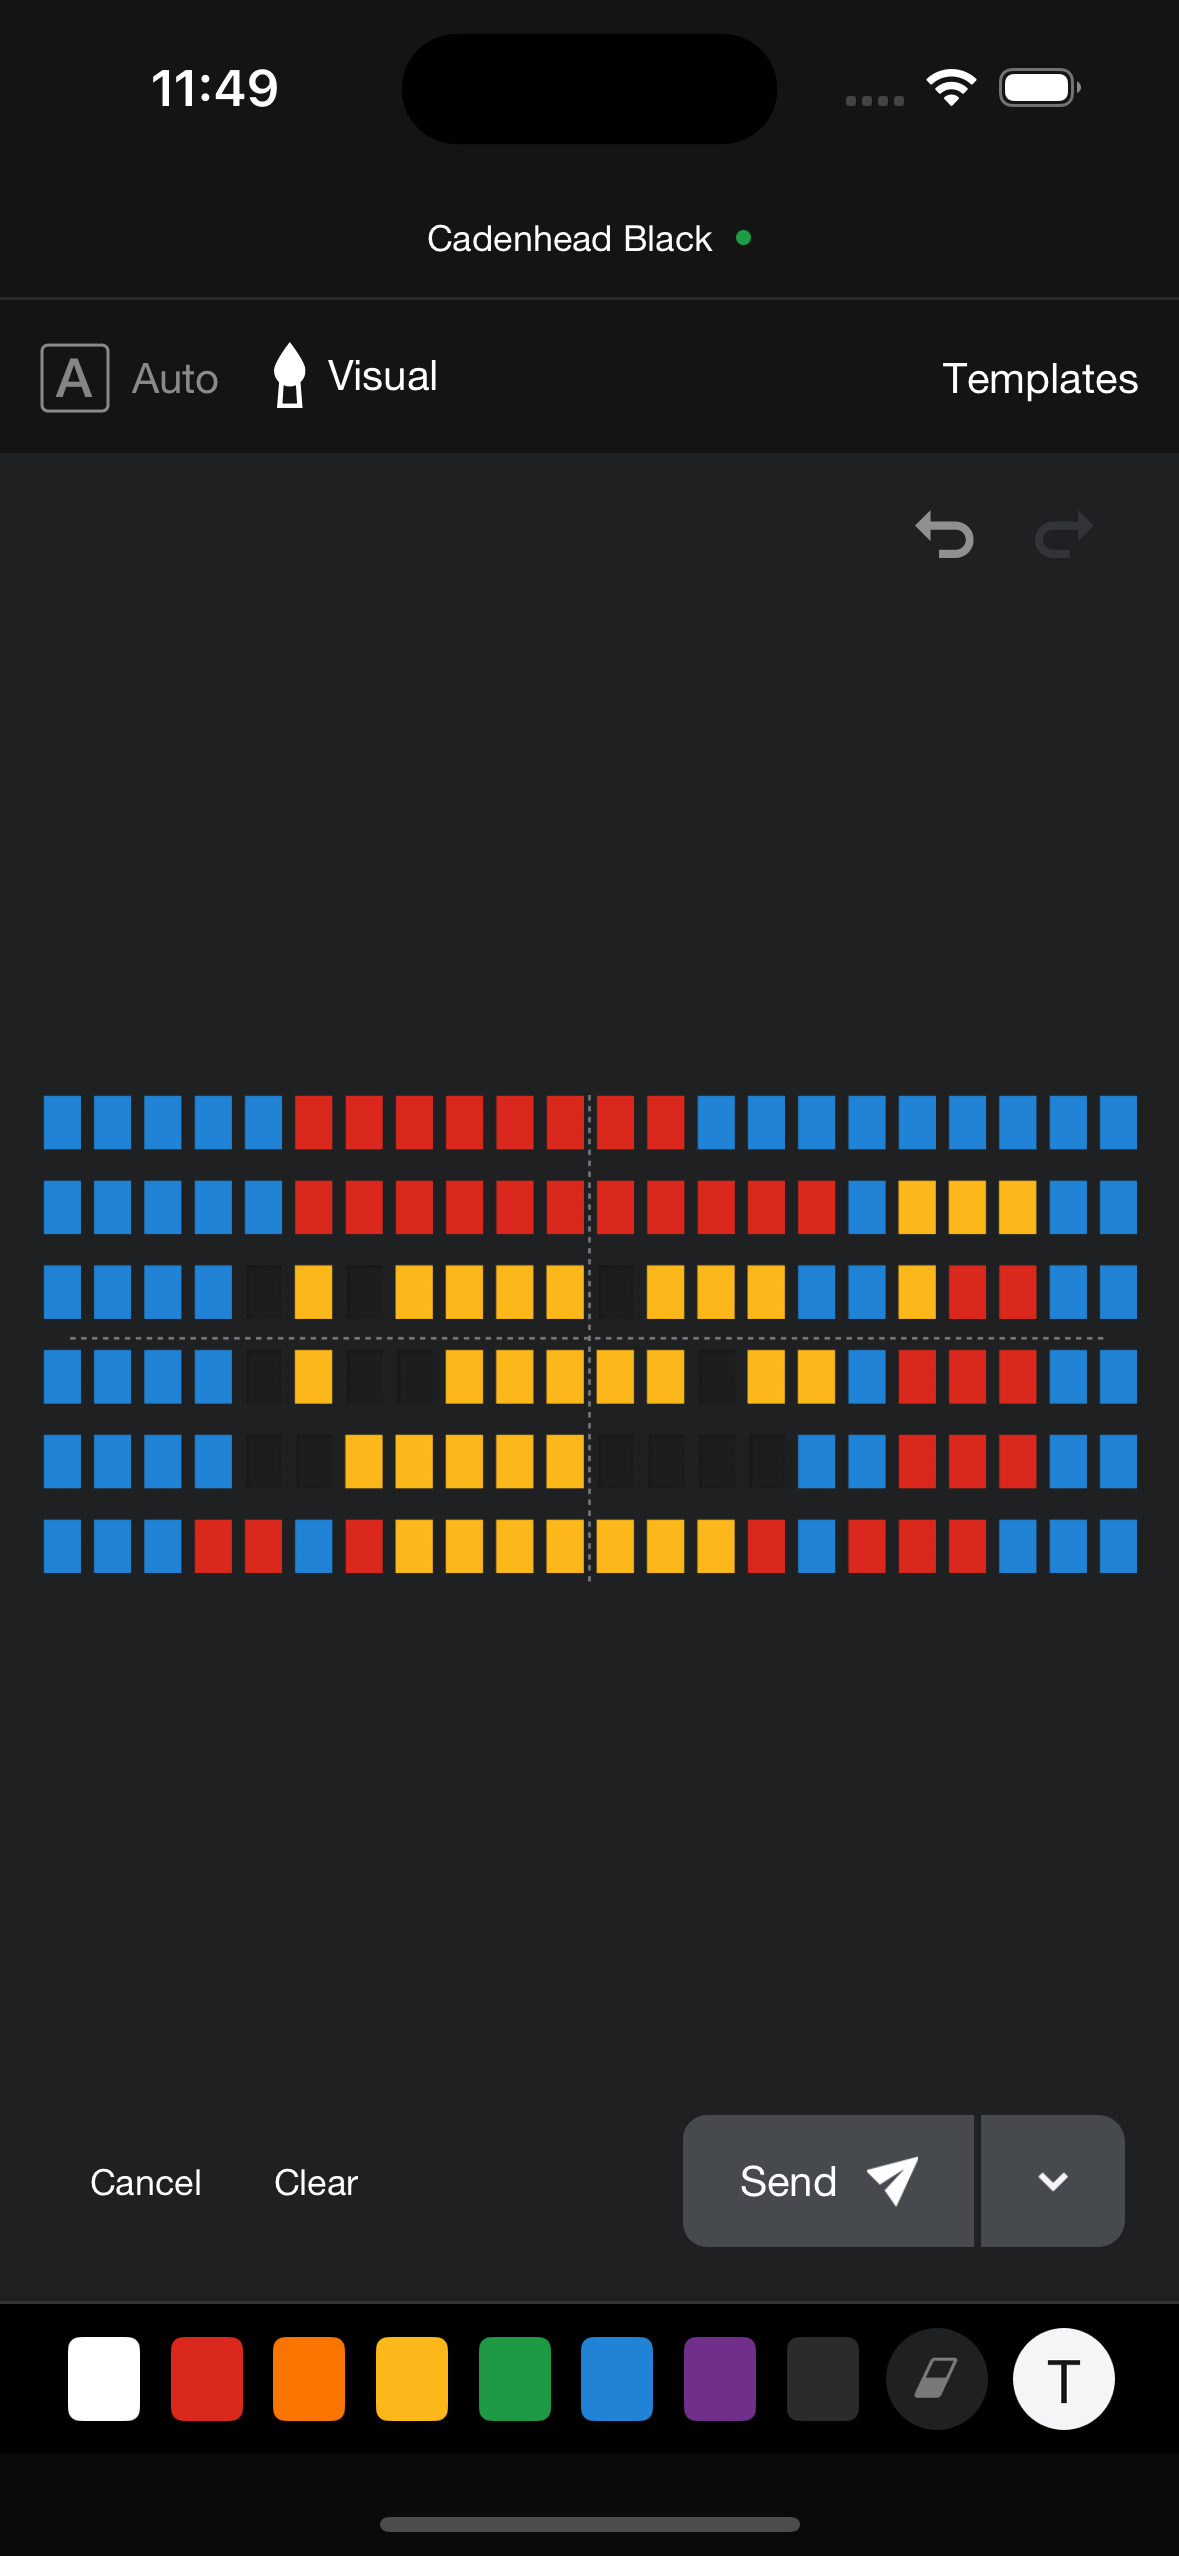
John built out our native onboarding flow while I built out our composer that allows you to compose messages to send or draw them automatically. After a few weeks, we had working prototypes of many of our more complicated features and we knew that we could build anything we needed with our new stack.
Rebuilding the App
So we started rebuilding the entire app screen by screen, feature by feature.
There are two ways to do a rewrite with React Native; you can include React Native code inside an existing native application and update it as granularly as one component at a time, or you can go completely greenfield and start from scratch.
The obvious benefit of updating an existing app is that you can start releasing new features in weeks rather than months, or even years and only rewrite features as they are needed while still maintaining the existing functionality.
On the other hand, doing a greenfield rewrite allows React to manage the application state at the top of the app. It unlocks features like Expo file-based routing, better developer experience and probably an ultimately more cohesive application. We opted for a full rewrite. This is not a decision to be taken lightly, but having seen failures and successes of using React Native in the past, I knew that if we wanted to actually get to a place where our entire app was React Native, we had no choice but to go scorched earth on it.
Shortly after we began, we hired a third contributor to our React Native rewrite team, Alex. He began looking deeply into performance metrics to help us determine why we were dropping frames on long list renders.
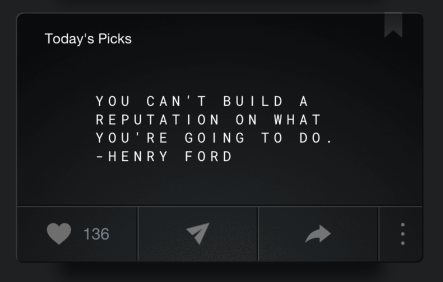
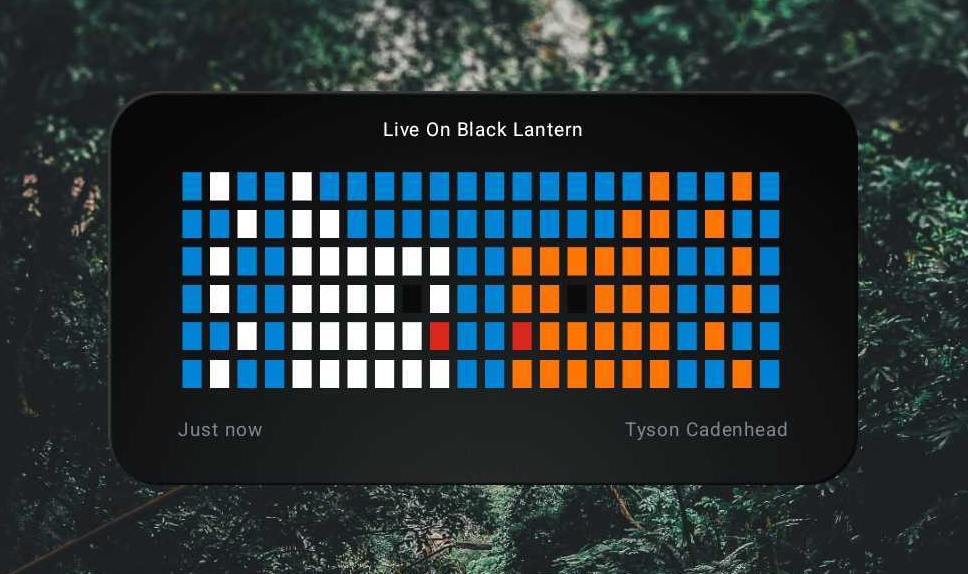
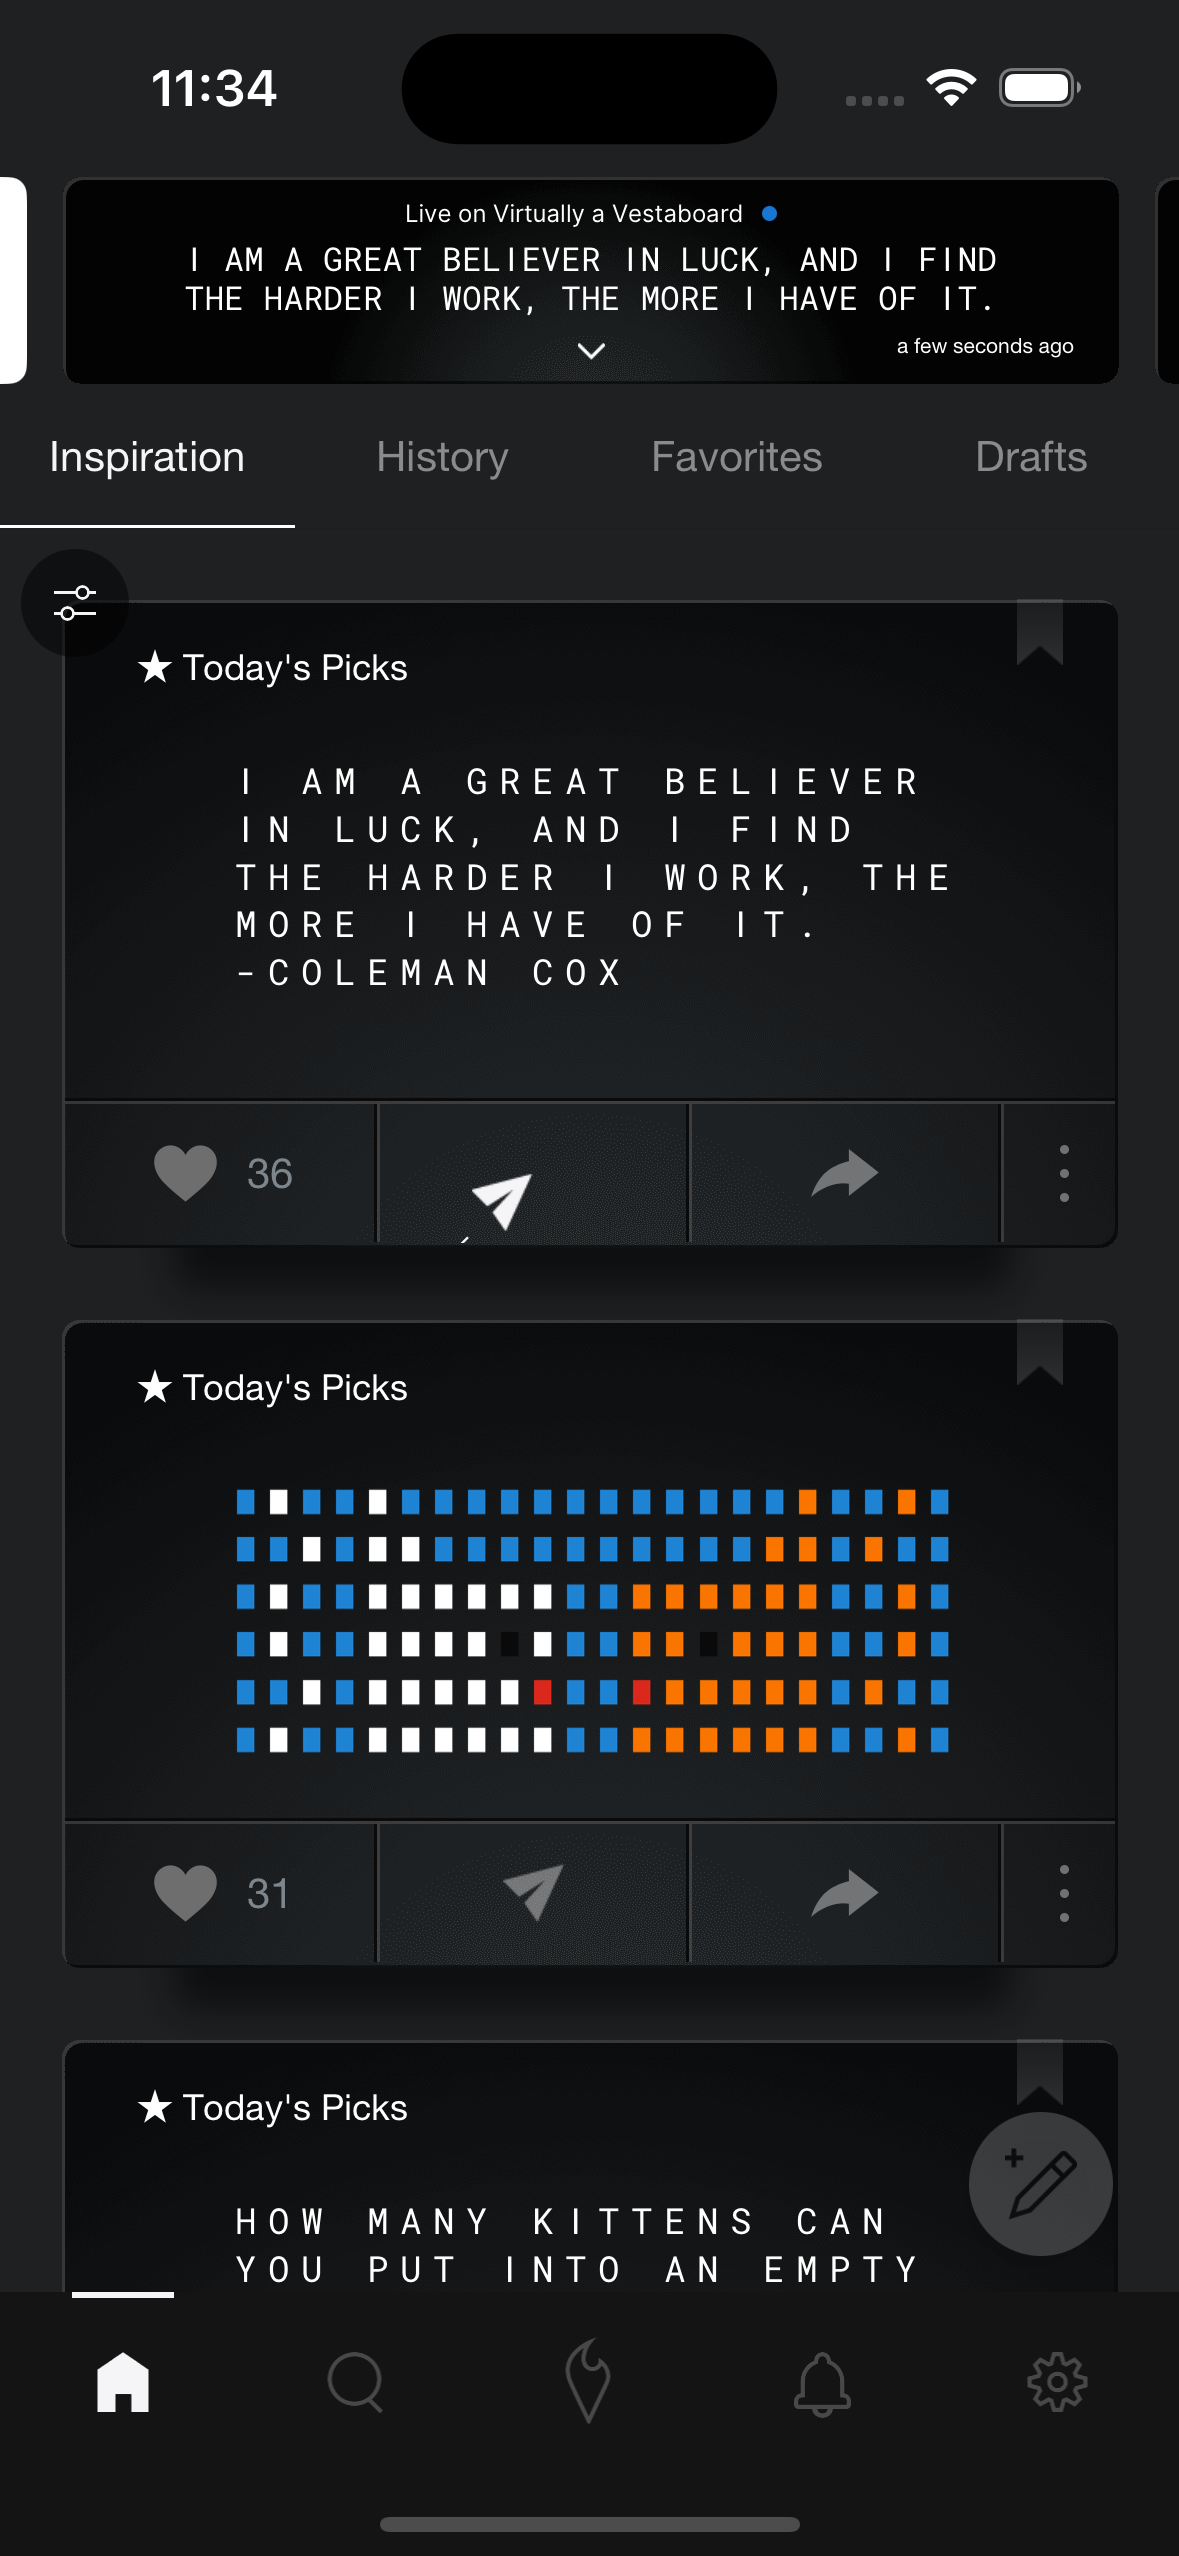
The star of our application is a component called the “Message Card”. It is a preview of what a message is in the history as well as a preview of what a message would look like if you send it to your Vestaboard. We use this component extensively across the app inside long infinitely scrolling lists and it soon became clear that any long list with this component would give us significant performance issues. The component itself was rendering the message as a dynamic SVG along with several buttons for functionality on the message card, many of which were animated using the Lottie library. Optimizing the message card took multiple rounds of tweaks, but we knew that not getting it right would be an obvious giveaway that the app wasn’t truly native.
SVG vs. Custom Font
First, we replaced the SVG rendering with a custom font with emojis for the colored characters that can display on our bits. We saw small improvements from that change, but it still didn’t feel native.
Conditional Rendering Hoisting
Next, we had some conditional logic inside each message card that would display modals for specific message actions such as prompts when deleting a message from history, a modal to allow the user to pin a message to the Vestaboard device for a certain length of time, a prompt for sharing and more. Since these were included with every message card, the render time was much higher than if it were just rendering a simple component. We moved those components higher in the app hierarchy by wrapping message card views in a MessageCardProvider with context handlers to trigger the modals with the appropriate data passed in. Again, we saw huge performance improvements, but we knew we could do more.
FlashList vs. FlatList
Up until this point, we had been managing our lists with FlatList, which ships with React Native. Shopify, a huge proponent of React Native, had built “FlashList” which purported to be a better version of FlatList, especially for longer lists because of its use of recycler view. We swapped it out and saw immediate improvements, especially as we got further down our long lists of messages.
Native Components
Opting into Expo and React Native didn’t mean we had to abandon native components entirely. We could write our own Swift and Kotlin code as needed. For example, we had an existing native widget that displays the current Vestaboard message from our previous apps. We were able to use the majority of the existing code to build that feature, which React Native didn’t support out of the box.
The ability to include native Swift and Kotlin modules in our code is one of the biggest strengths of React Native. It allows us to drop down a level when we need to by giving us an escape hatch. In our case, the existing React Native and Expo modules covered almost all of our features, but we were never locked in to only use them.
Adding New Features
If there were one gray area of the way we approached our initial release of the React Native app, it would be adding new features that didn’t previously exist in the iOS and Android apps. Looking back, if we had resolved to copy the existing app screen for screen before adding new features, we could have released sooner and gotten better feedback as we rolled out each new feature iteratively. However, one of the main reasons we were migrating to React Native was because many features we had planned had been held up by cross-platform support. This was our chance to launch not only with a new framework, but with many new features that we were betting on our customers enjoying.
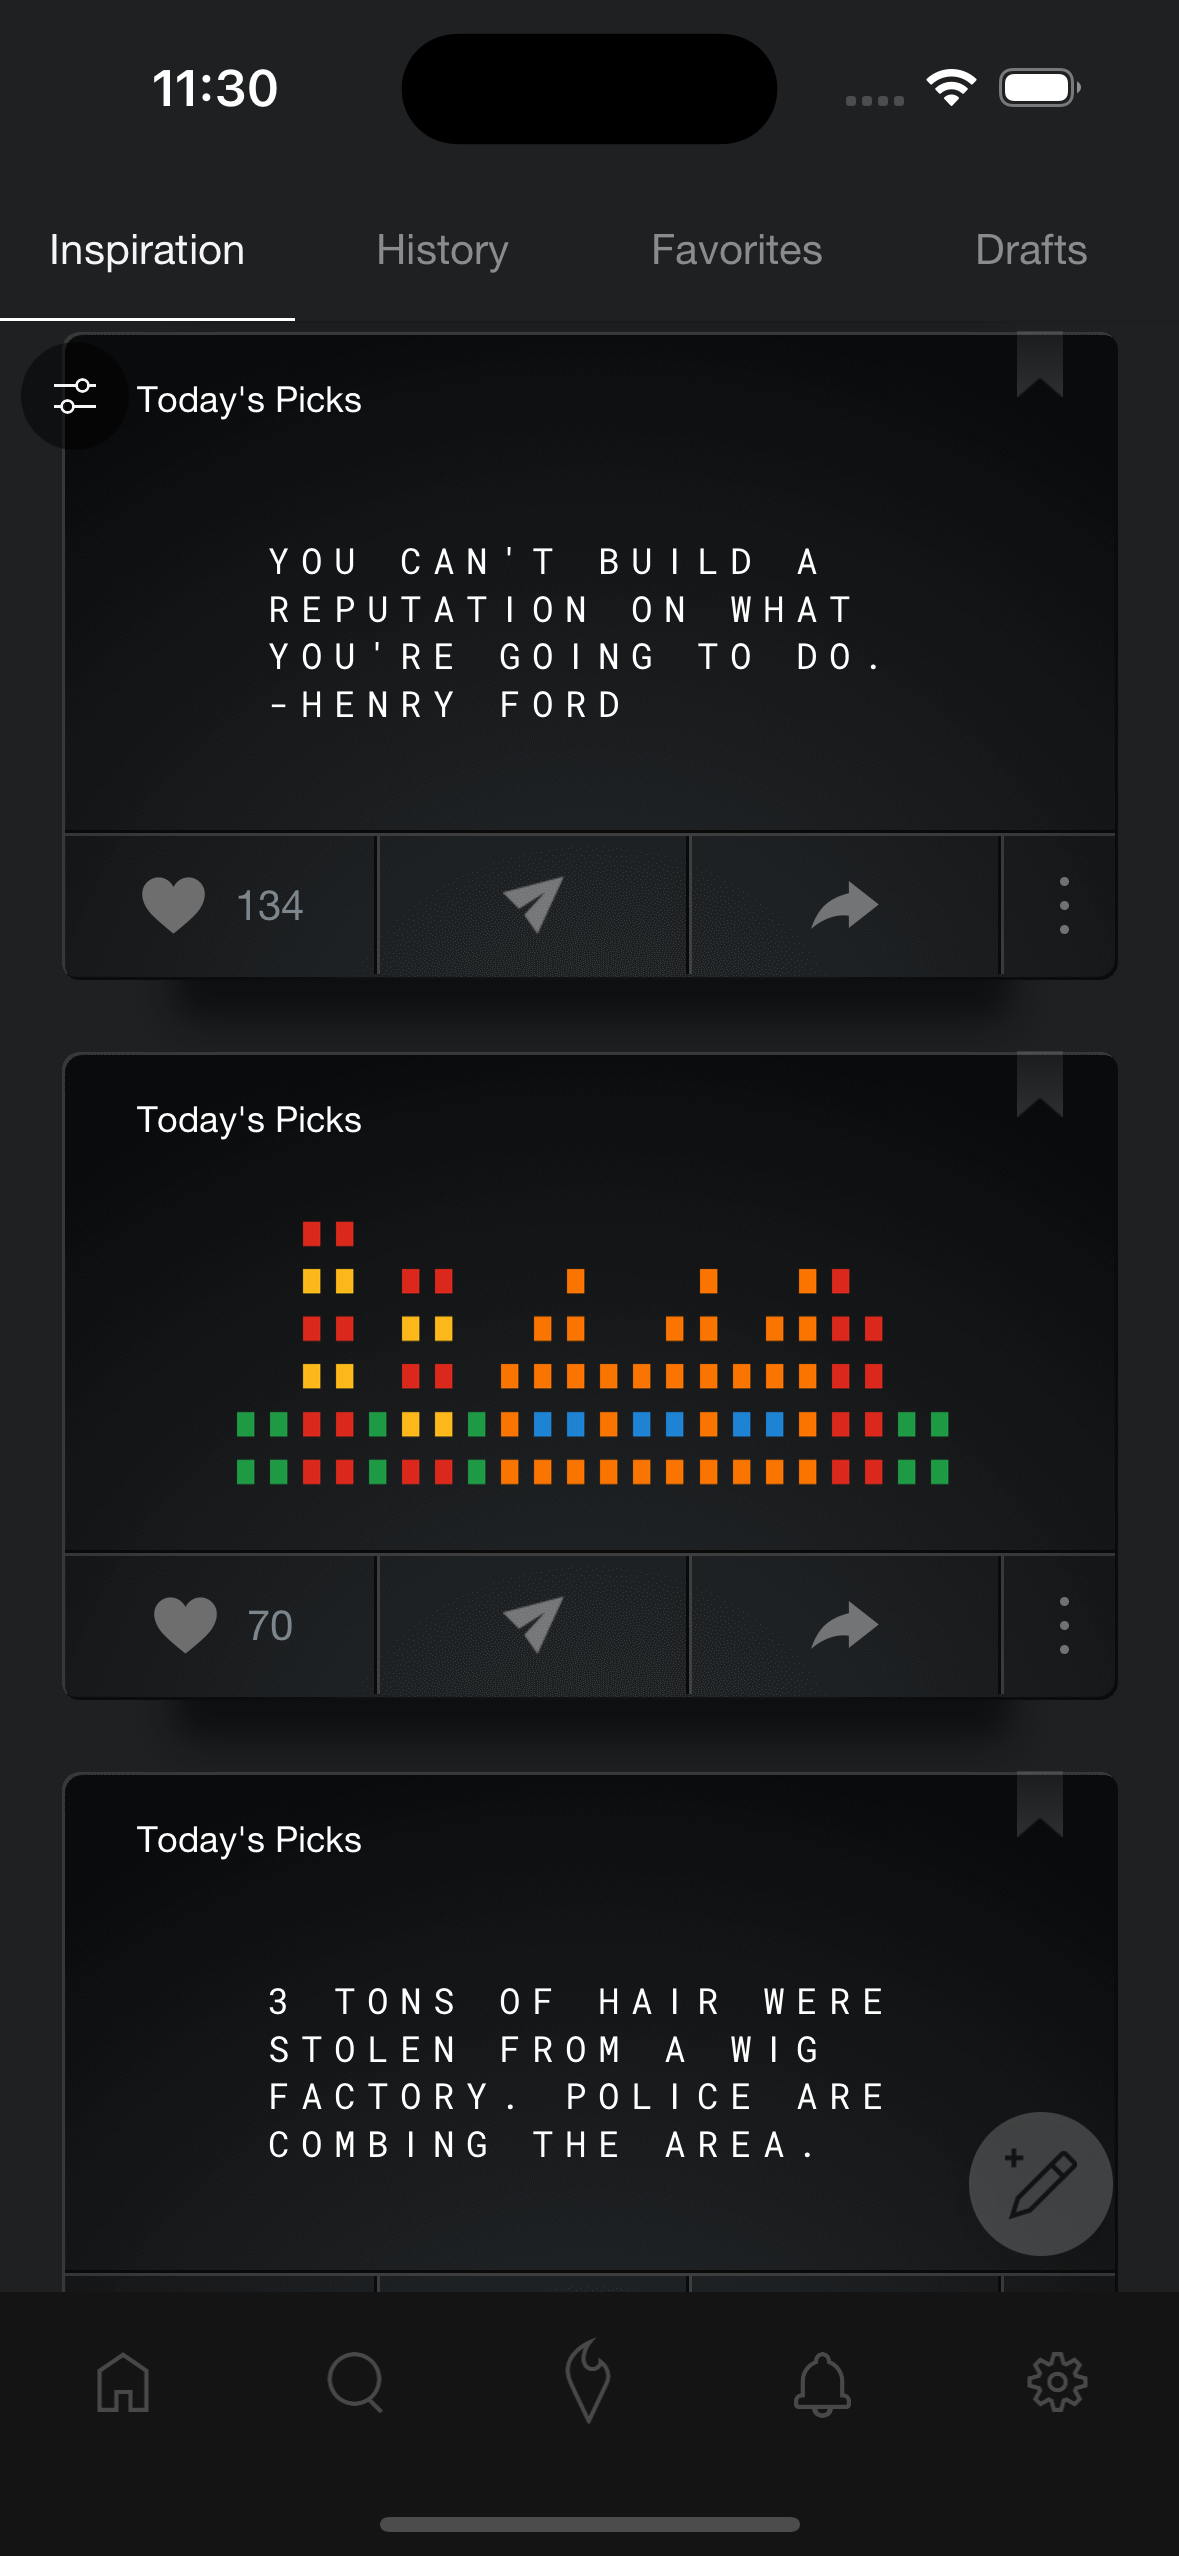
Message Feed
The new feature that required the biggest time investment was actually the feed of messages. On our original app, the main screen had a list of your message history, favorites and daily message picks from our staff. These were all capped at 3 messages. Pressing the “more” button would send you to a screen where we would list the rest. It turns out that managing a single screen of scrolling content is much less complex than our new feed experience, which allowed infinitely scrolling for various types of messages with a tab view.
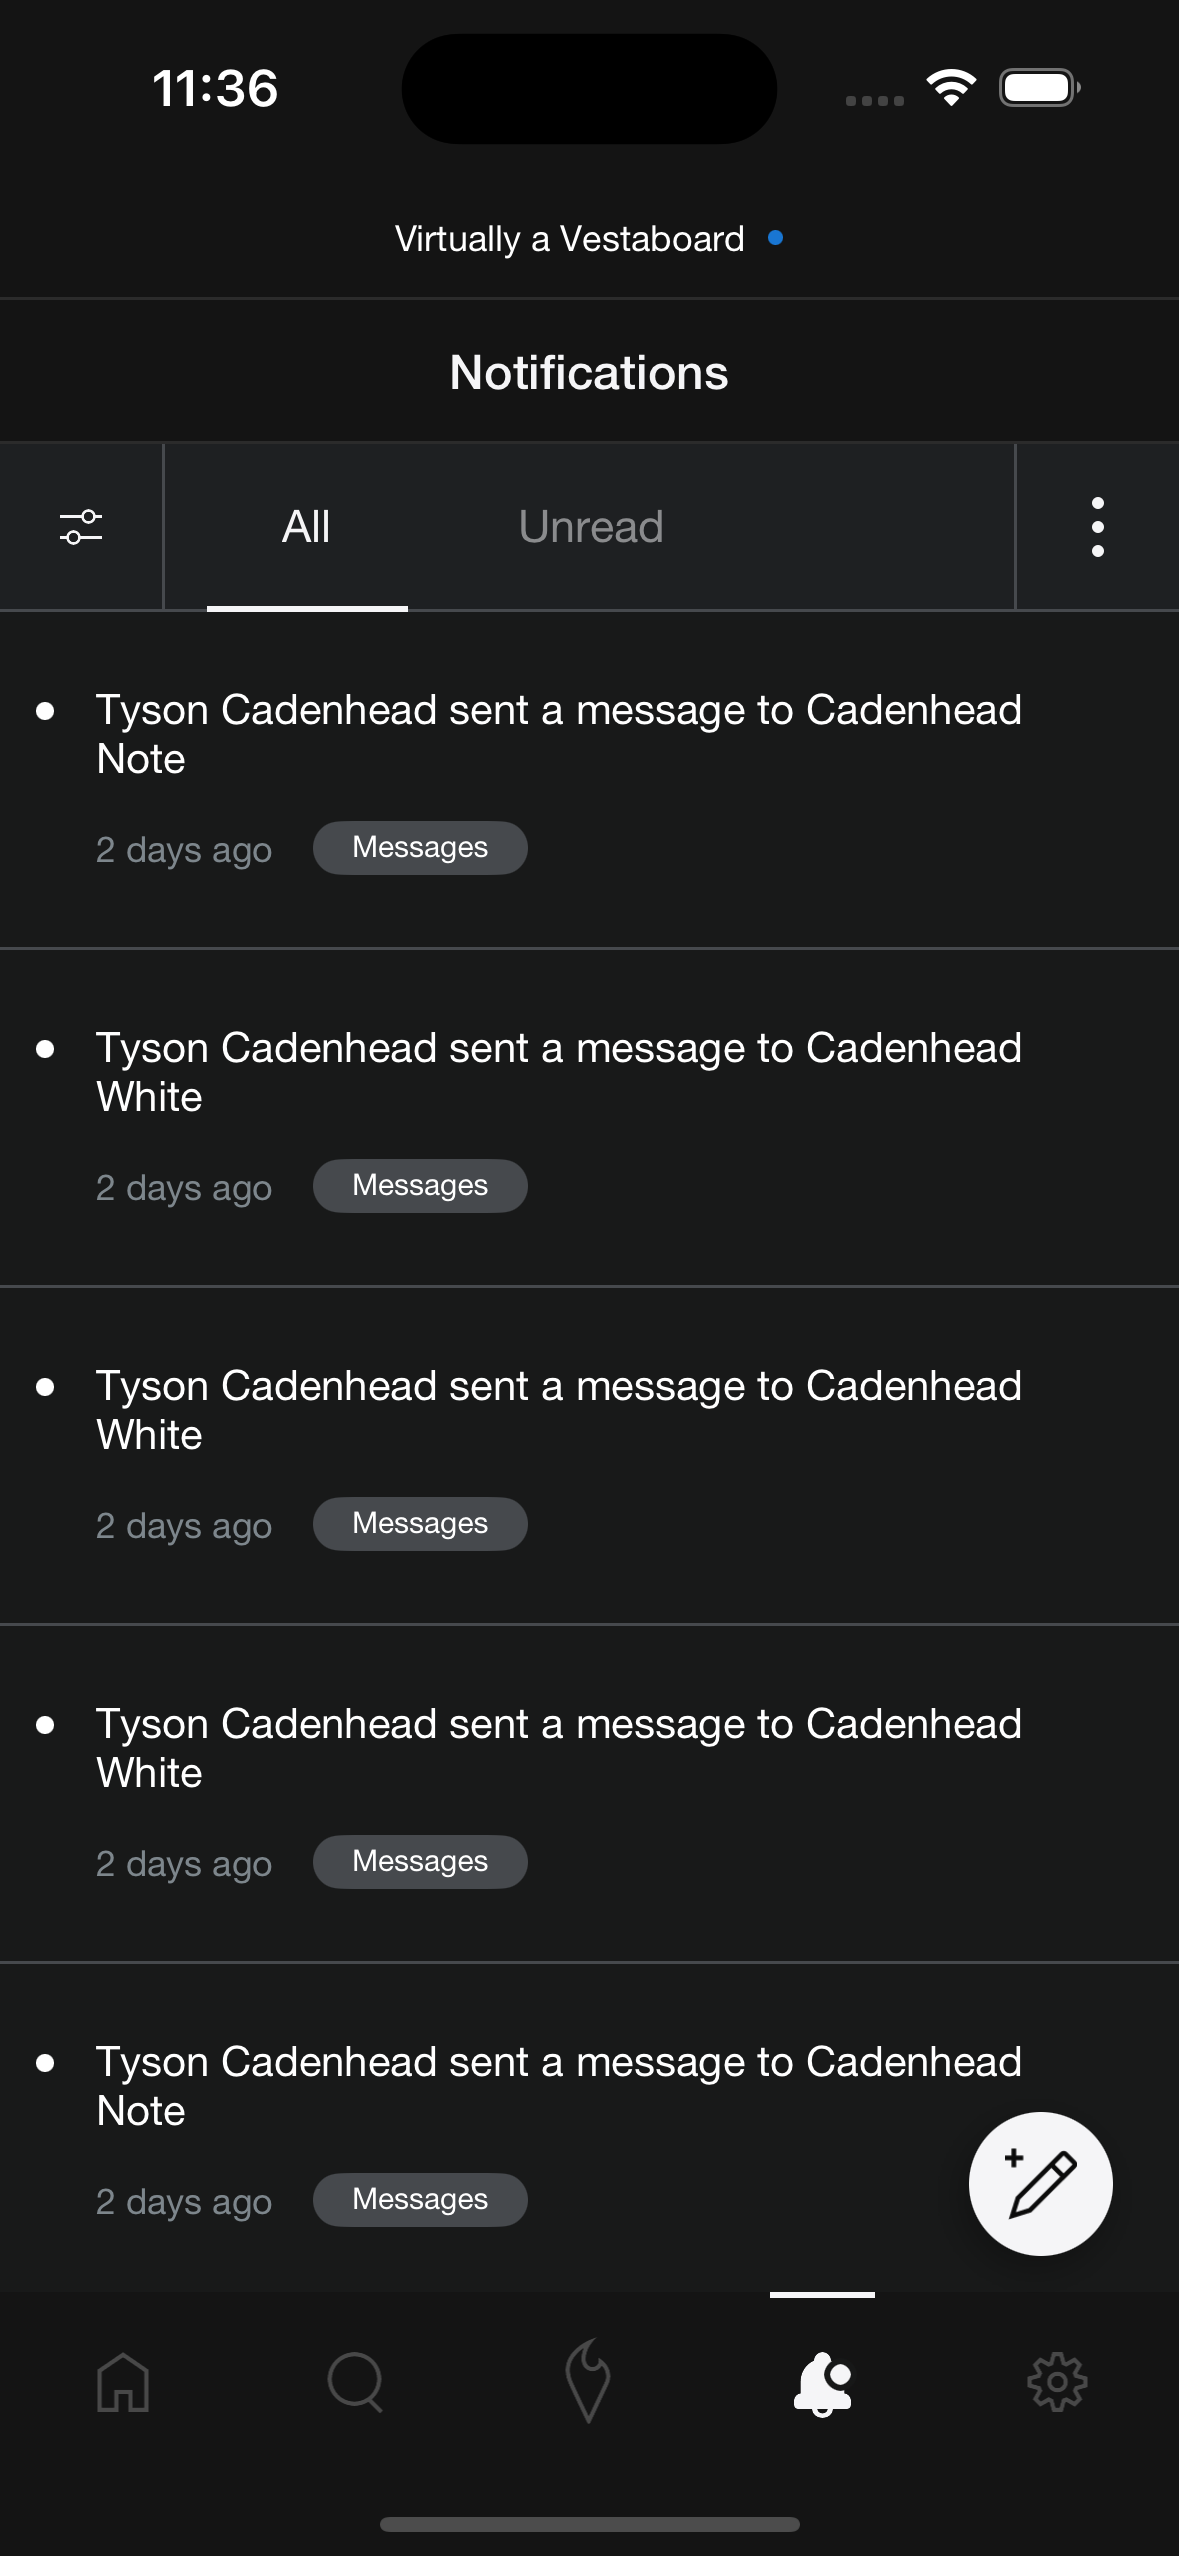
Push Notifications
We had also been planning a notification section of our app and decided to go ahead and include it in the initial version of our app as well. Thanks to the Expo Notification primitives, sending push notifications was not a difficult task.
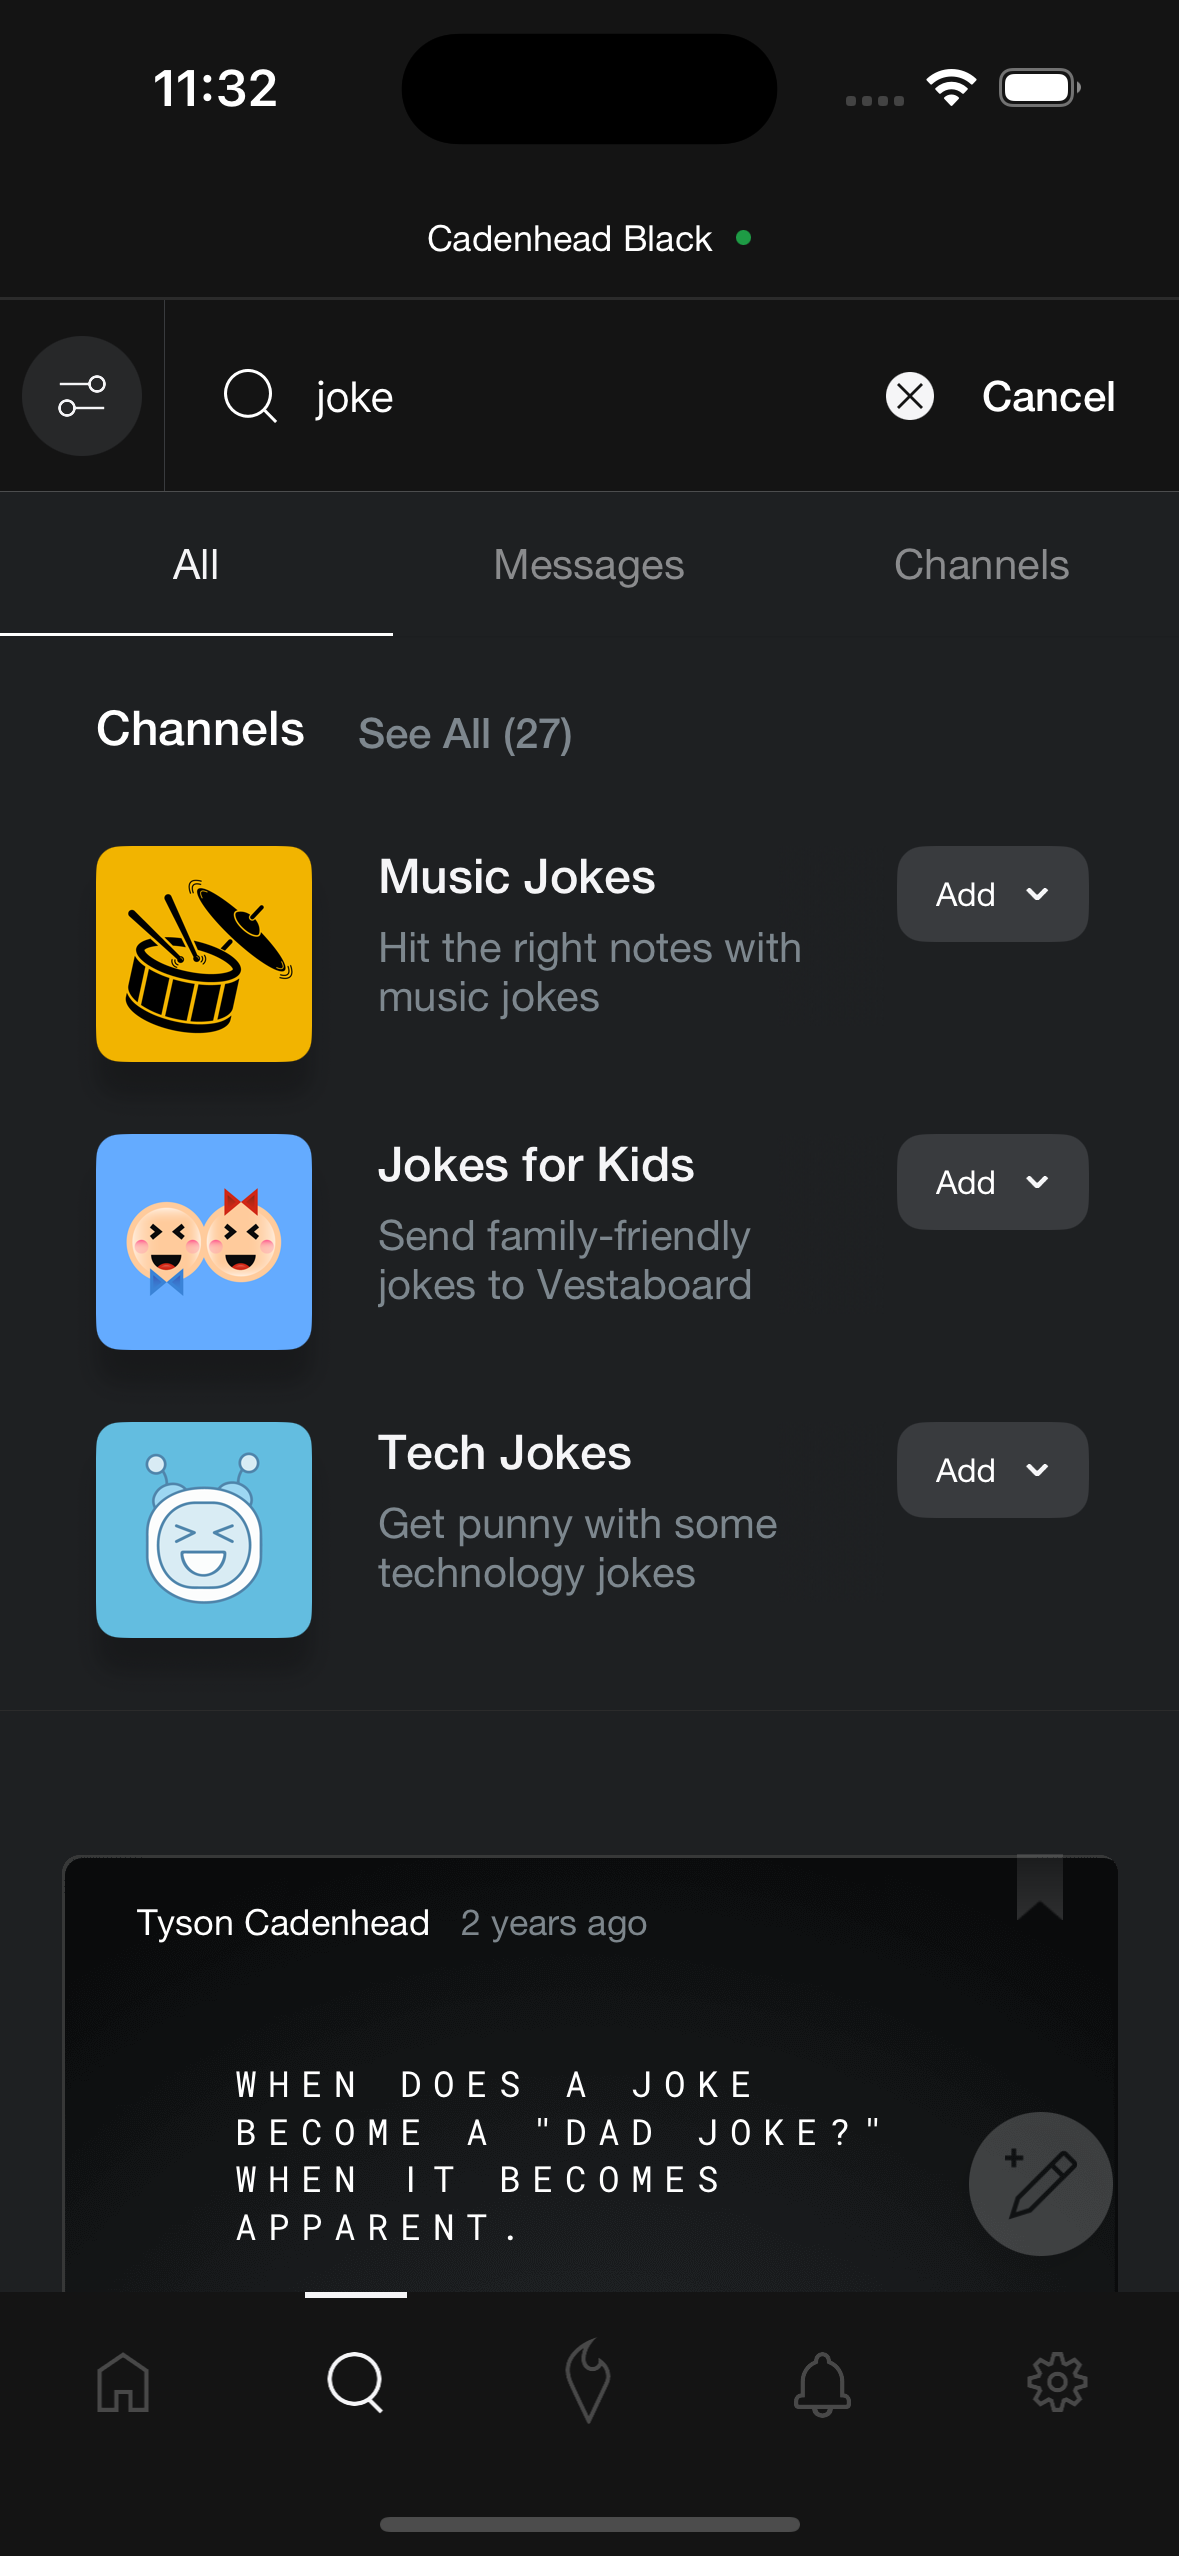
OmniSearch
We completely rethought our search functionality and moved search up to a tab in the app. Instead of searching through specific models, like message history or Vestaboard+ channels, we built a powerful omnisearch which required indexing all of our content in ElasticSearch. Here it should probably be mentioned that in tandem with creating a new React Native app, we were moving many of our backend processes away from a monolithic architecture to distinct services built for specific tasks. The message service was in charge of handling every type of message and the ability to search through them. The task of migrating millions of existing records from the monolith to the message service was arduous. I personally had a background task running for nearly two weeks that batch-processed 1,000 records at a time and dumped them into our new service.
Haptics and Animations
We sprinkled haptic feedback and lottie animations throughout the app to give more positive feedback on user interactions. On the message card component itself, there is a paper airplane icon you can press to send the message to your Vestaboard. When you press it, you immediately feel a haptic vibration and the airplane animates as if it is flying away.
Transitions
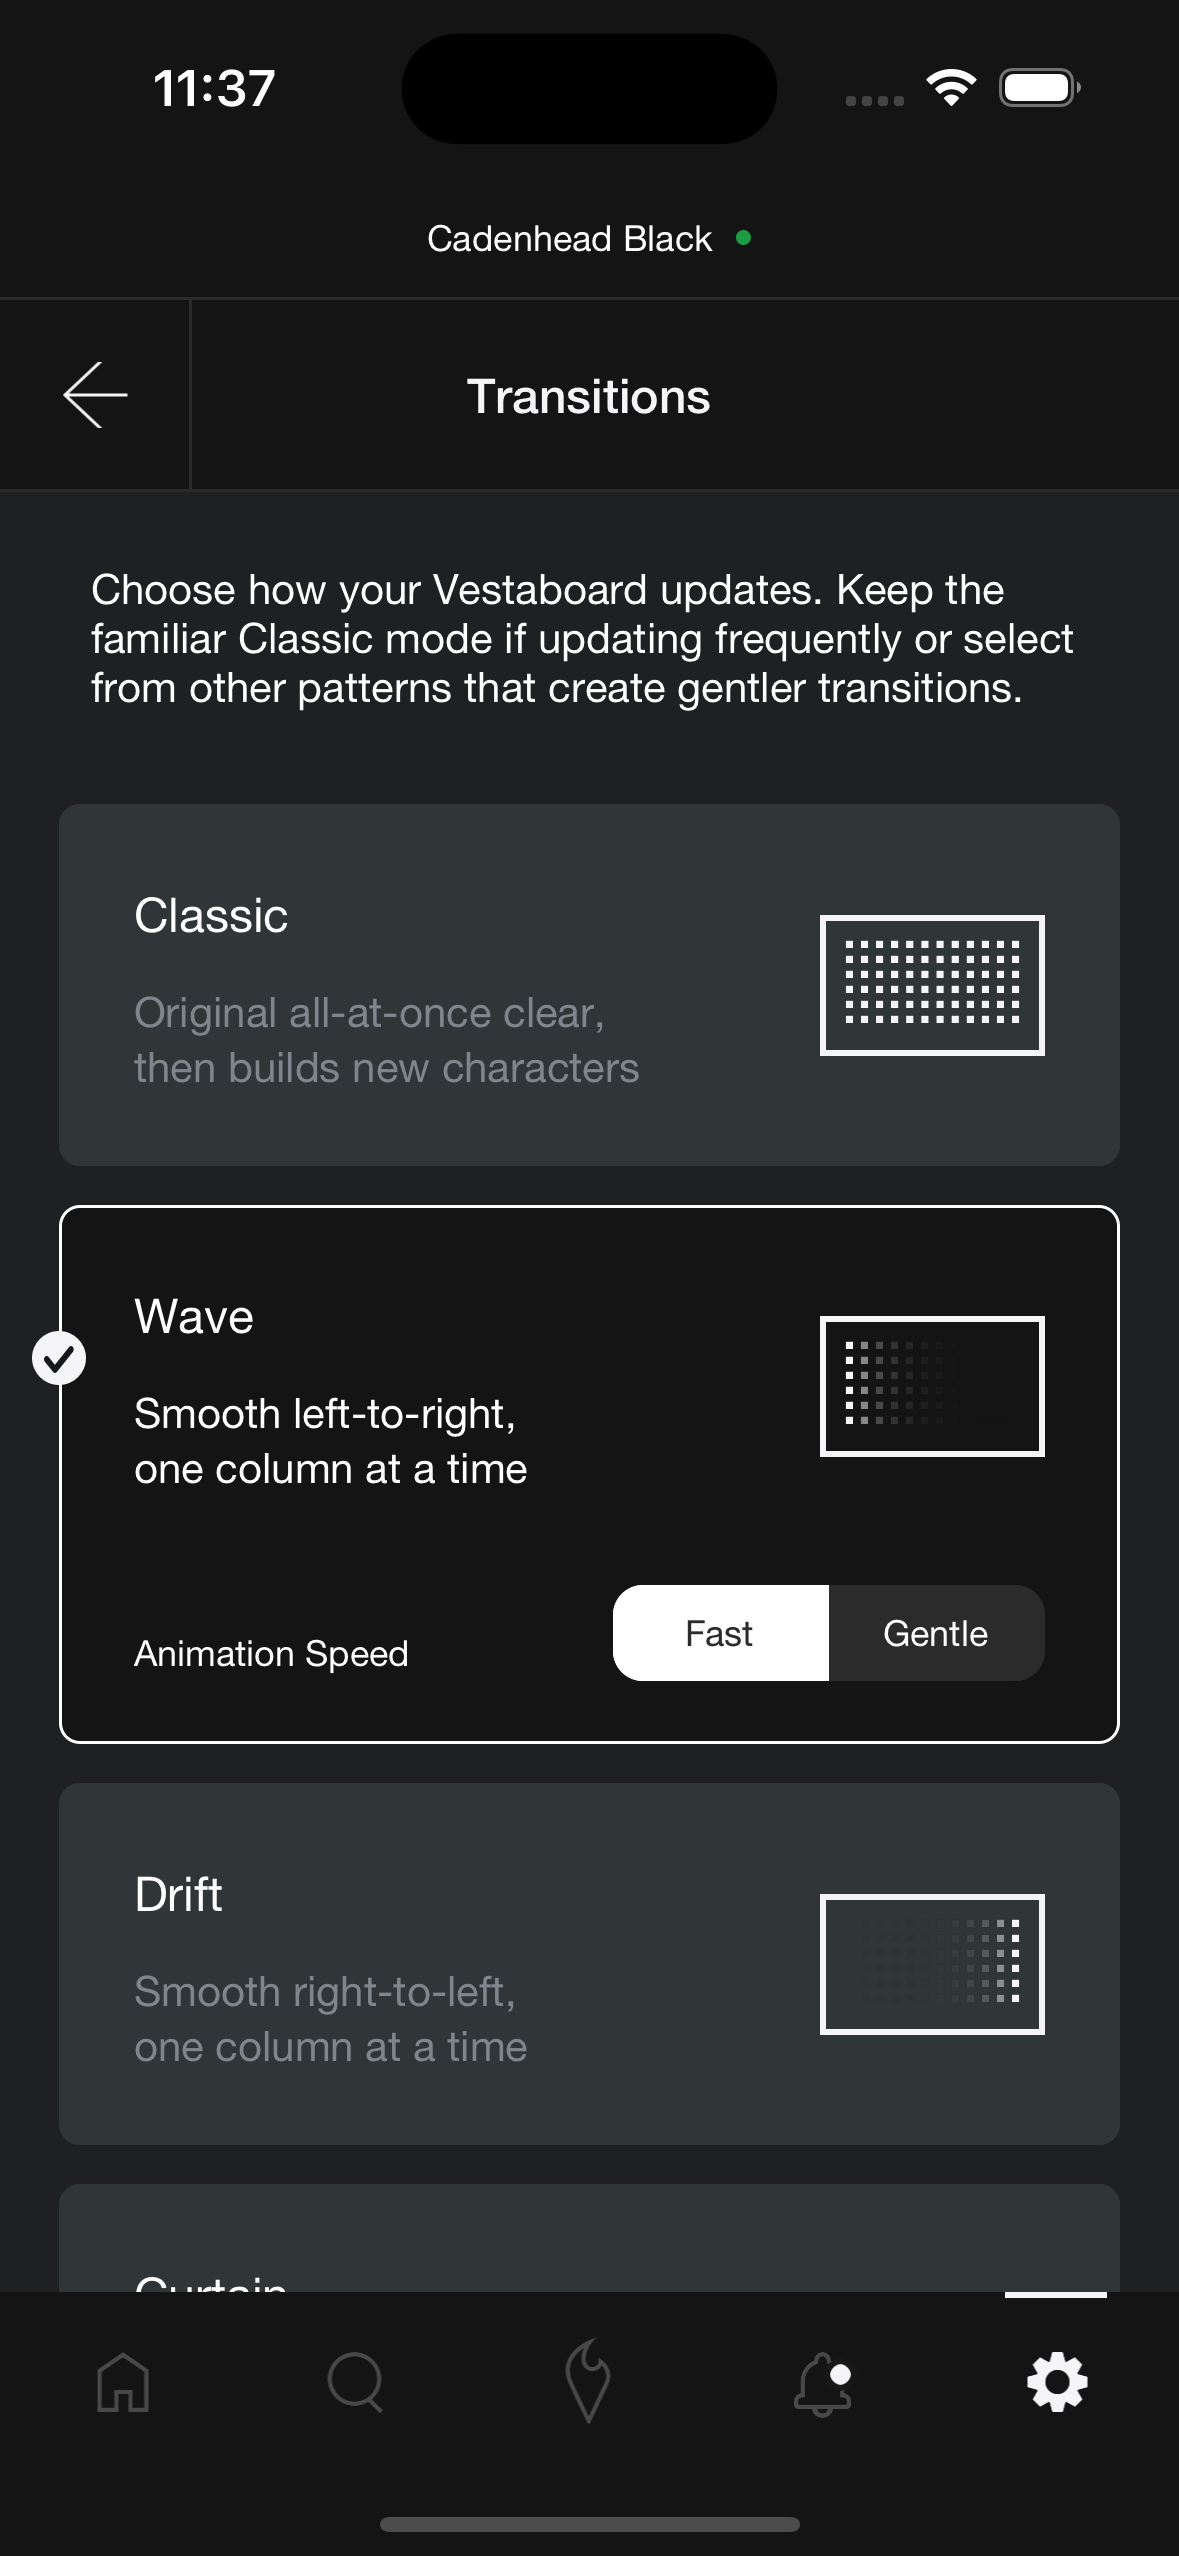
We also added many new settings in our application. One of the more requested features was the ability to change the way the Vestaboard transitions from one message to another. The “classic” transition means that all of the bits flip at the same time until they resolve on the message that was sent. We added options to gradually activate the columns from left to right, right to left and from the outside in. Not only did these new transitions create interesting displays, they made the sound of the bits flipping quieter, which many of our customers had requested after the classic transition startled their pets.
Without a doubt, we could have gotten to our initial release much quicker if we didn’t ship with these features. On the other hand, if we had attempted to build all of these features in Swift and Kotlin, I’m almost certain we would still be building them.
Rethinking How We Release Code
Before moving to React Native, we would try to build a new store release every month or two. Each release required a full manual end-to-end QA cycle. Our iOS and Android developers would have to manage feature branches and carefully merge in the branches that were ready to release across both platforms.
Using Expo, we were able to rethink how we release our updates. Our team has practiced trunk-based development and continuous integration across most of our stack, but until we migrated the app, we weren’t able to experience the same benefits on the frontend.
Since we launched our app, we are able to release OTA updates as soon as our code is merged and passes our CI/CD pipeline. For new features, we apply feature flags using LaunchDarkly. These features are QA’d and released by toggling the flag on for the rest of our customers. This has completely decoupled delivering code from releasing features.
Of course, this only works with non-native changes. If we need to add or upgrade a native dependency, our GitHub action kicks off a build upon merging the new code that we can test and release if it passes our quality standards. Fortunately, native changes are very rare compared to application features. Additionally, the surface of change when releasing new native features is much smaller, which makes testing easier.
Expo and React Native fundamentally shifted the way we could deploy code. We were able to ship faster, safer and more continuously.
Lessons Learned
We learned a lot during our React Native migration about scope, performance, libraries, and tooling.
Scope
As with any migration, there are things we could probably do better in the future. The first one is not about React Native specifically, but about how we approached the rewrite. While I think we made the right decision to approach this migration as a greenfield app rather than doing a slower migration into the existing app, I think we should have narrowed the initial scope to matching the original app screen for screen. This would have given us a good foundation to start with and put the new app in our customer’s hands much earlier. All told, it took our scrappy team of 3 developers about 18 months to launch our app from the day we started. If we had cut the scope to not include any new features, I’m confident we could have cut that time in half. On the flip side, we might still be building the new features that we sprinkled in as other priorities bubbled up.
Component Library
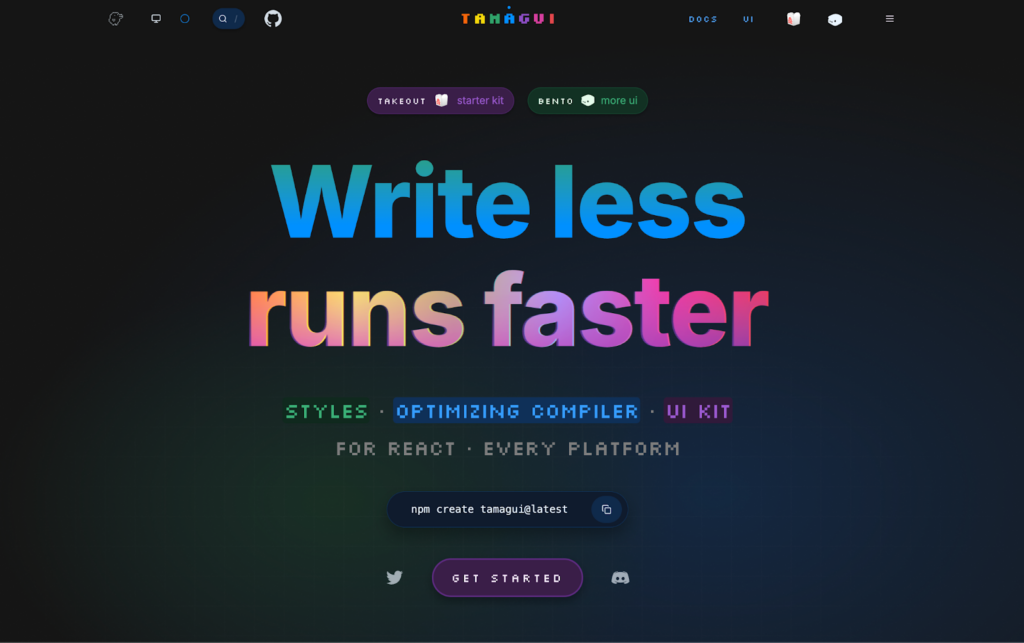
We prioritized building a branded component library early on. In one of the more risky choices of our stack, we went with Tamagui for the base of our component library. Tamagui is less battle hardened than many of the other styling libraries available for React Native, but it was built from the ground up for support across native and web. Having the base components allowed us to move more quickly, because we were able to stack them together as needed.
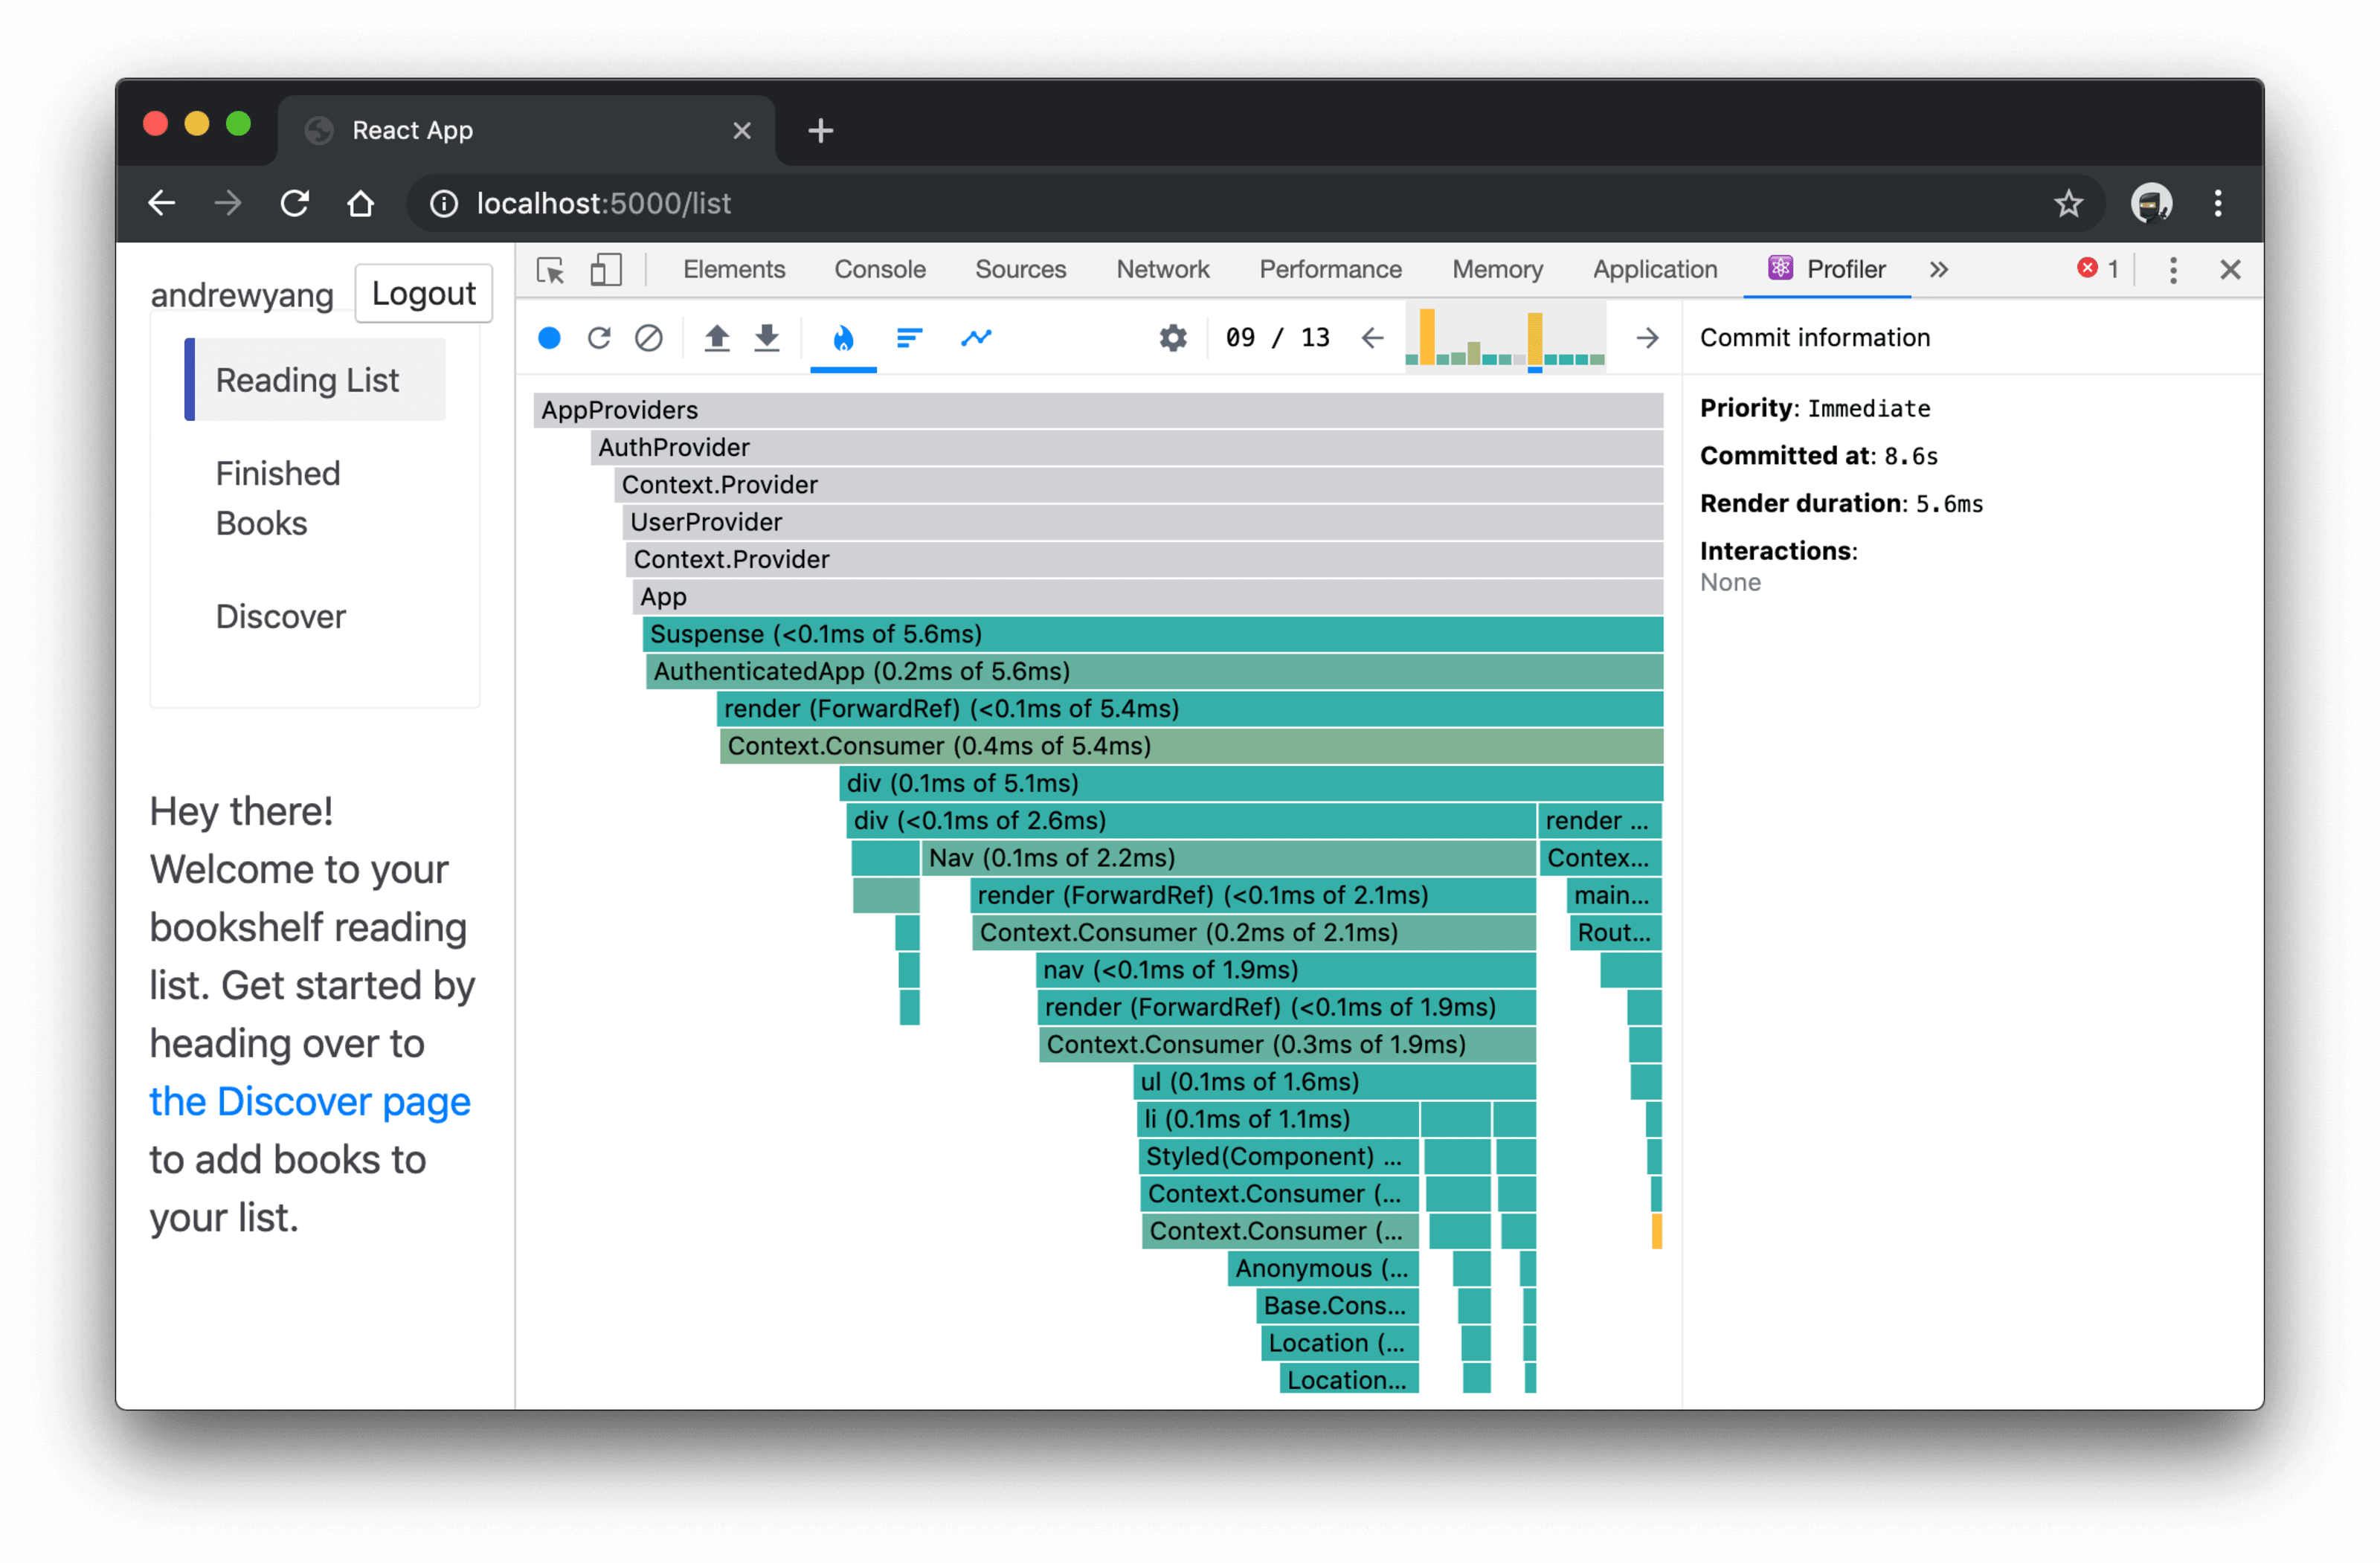
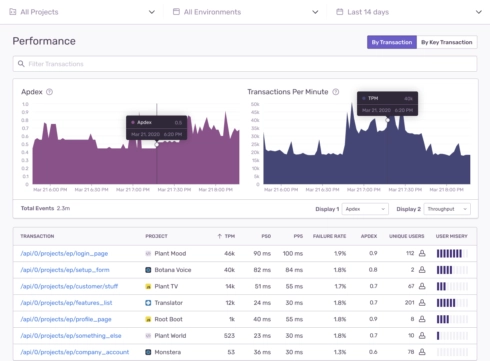
Another lesson we learned was to pay close attention to performance early and often. Coming from a React web background, the browser can be more forgiving than a fully native application. Avoiding heavy re-renders by memoizing and batching data became much more important. Using the right components, like FlashList for handling long never ending feeds of data was essential. Beyond that, we became familiar with the React Native performance monitoring tools which gave us insights into dropped frames and how and why they occurred. We learned the importance of not blocking the native thread, which would result in layout jankiness. Our newer features tend to have a more performance-first approach because of the lessons we learned pursuing that magical 60 frames per second.
We also made sure that we were including our third-party libraries early to ensure that everything was compatible. We use Sentry for error reporting and Pendo for analytics and reporting. Having those dependencies in place gave us confidence that we could support everything the native app had supported.
Embracing the Expo Happy Path
We relied heavily into the Expo tooling for building images, signing releases, sending push notifications and managing environment variables. We found that the more we relied on the solid foundation Expo had laid, the less resistance we had to fight against.
Conclusion
We are on the other side of the migration now. While it took significant effort to unify our codebase with React Native, I feel very confident that we made the right decision. We are able to move much more quickly now. Since launching the React Native app, we’ve almost completed support for our new physical product, Vestaboard Note in the app. Vestaboard Note was the result of a pivot we made early this year. I am not certain that we would have been nimble enough to reach full support for Vestaboard Note before its release if not for our new application.
Our day to day developer experience is drastically improved. We build and release features quickly across the entire stack at a pace we wouldn’t have thought was possible two years ago.
The future is bright for Vestaboard software engineering thanks to some solid technology choices and a ton of hard work. If your team is considering a similar migration, I hope our experience gives you confidence that it’s not only possible, but in many cases, it’s very worth it.